Brr, It’s Chilly Out There!
Oh boy, here we go again. The temperature is starting to drop, and I can already feel the chill creeping in. You know what that means – it’s time to start thinking about preparing our beloved concrete for the harsh winter ahead.
As a self-proclaimed concrete enthusiast, I’ve seen my fair share of concrete-related disasters during the winter months. Imagine your driveway cracking like an eggshell or your patio turning into an ice rink – not a pretty picture, am I right? That’s why I’m here to share my top tips and tricks for frost-proofing your concrete and keeping it in tip-top shape all season long.
Step 1: Inspect and Assess
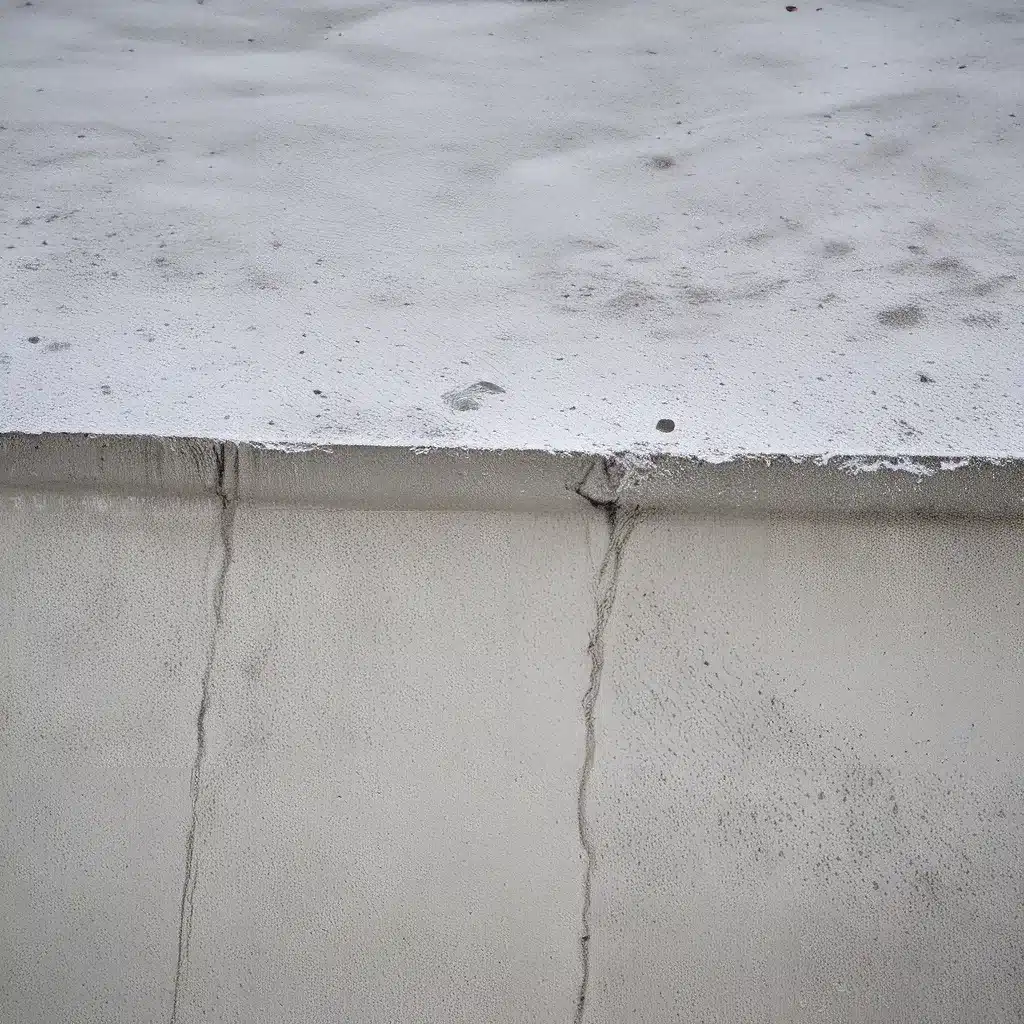
Let’s start with the basics – a good old-fashioned visual inspection of your concrete. Put on your best detective hat and take a stroll around your property, keeping a keen eye out for any potential problem areas. Look for cracks, crumbling, or signs of wear and tear on your driveway, sidewalks, patio, or any other concrete surfaces.
Tip: Don’t forget to check your foundations, too! Those suckers can be a real headache if they start to crack or shift during the winter.
While you’re at it, make a note of any areas that seem particularly exposed to the elements. Maybe there’s a spot on your patio that’s always the first to freeze over or a section of your driveway that tends to get icy. Jotting down these observations will help you prioritize your frost-proofing efforts later on.
Step 2: Seal the Cracks
Alright, time to get our hands dirty! Once you’ve identified any cracks or damage in your concrete, it’s time to seal them up. This is a crucial step in preventing further deterioration during the winter months.
Underline: Proper concrete crack sealing is like giving your concrete a cozy winter coat.
Grab yourself some high-quality concrete sealant or patching compound and get to work. Fill those cracks, smooth them out, and make sure they’re nice and level with the surrounding surface. This will not only protect your concrete from the freeze-thaw cycle but also help prevent water from seeping in and causing even more trouble.
Step 3: Give It a Good Cleaning
Now that we’ve tackled the structural stuff, let’s turn our attention to the aesthetics. A clean concrete surface is not only more pleasing to the eye but also better equipped to withstand the winter’s wrath.
Power washing is the way to go here. Bust out that trusty machine and give your concrete a thorough scrubbing, removing any dirt, grime, or debris that might have accumulated over the summer. This will help the sealant you apply in the next step really stick and do its job.
Tip: For extra credit, consider adding a concrete sealer after the power wash. This will create an additional layer of protection against the elements.
Step 4: Insulate and Protect
Alright, we’re on a roll now! The next step is to focus on insulation and protection. Think of this as wrapping your concrete in a cozy winter blanket.
Just like wrapping a delicate fig tree, we want to use materials that will trap heat and keep the cold out. Bubble wrap, foam insulation, or even a good old-fashioned tarp can do the trick.
Underline: The goal is to create a barrier that will prevent the freeze-thaw cycle from wreaking havoc on your concrete.
Now, I know what you’re thinking – “But won’t all that insulation ruin the aesthetic of my beautiful concrete?” Fear not, my friend! There are plenty of ways to keep your concrete looking its best while still protecting it from the elements.
For example, you could use a decorative concrete blanket or even strategically place some potted plants around the perimeter. Get creative and have some fun with it!
Step 5: Keep an Eye on It
Alright, we’ve done the hard work – now it’s time to sit back and enjoy the fruits of our labor, right? Well, not quite. Maintaining your concrete’s winter readiness is an ongoing process.
Tip: Make a habit of regularly checking your concrete for any new cracks, damage, or areas that need attention.
After a big storm or freeze, take a quick walk around and assess the situation. If you notice any problem areas, address them right away before they have a chance to snowball (pun intended) into something bigger.
Underline: Remember, a little bit of prevention now can save you a whole lot of headache and expense down the line.
Embrace the Winter Wonderland
There you have it, folks – my top tips for frost-proofing your concrete and keeping it looking its best all winter long. Now, I know winter can be a bit of a slog, but with a little bit of preparation and some elbow grease, you can turn your outdoor spaces into a true winter wonderland.
So, what are you waiting for? Grab your coat, lace up your boots, and let’s get to work! Your concrete deserves to be the star of the show, even when the temperatures start to drop.

