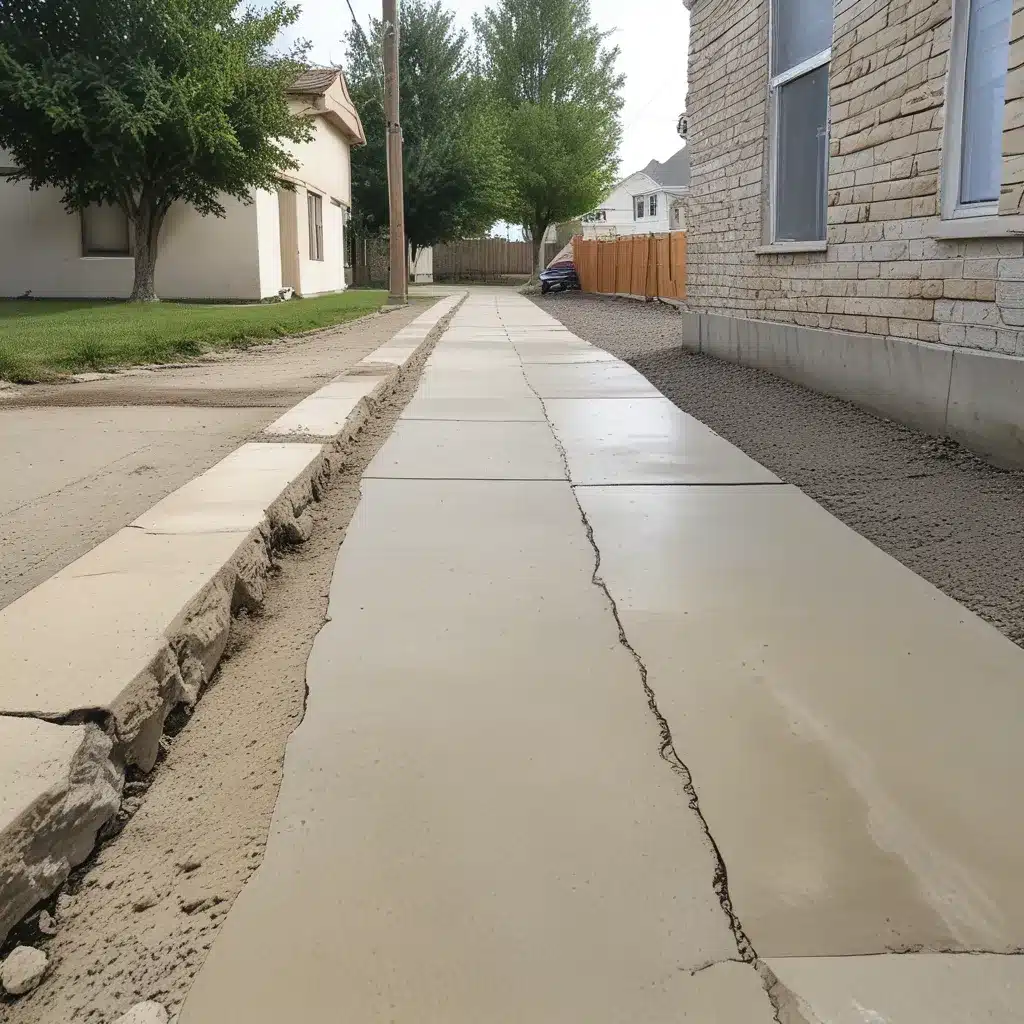
Don’t Let Sidewalk Cracks Trip You Up – Fix Them Right!
Have you ever been strolling down the sidewalk, lost in your thoughts, only to suddenly find yourself stumbling over a crack in the concrete? It’s a jarring experience, isn’t it? Not only is it an inconvenience, but those pesky cracks can also pose a serious safety hazard, especially for our elderly neighbors or little ones.
As a proud homeowner, I know how important it is to keep our walkways in tip-top shape. That’s why I’m here to share my step-by-step guide on how to repair those concrete sidewalk cracks like a pro. Trust me, with the right tools and a little know-how, you’ll have your sidewalk looking as good as new in no time.
Gather Your Supplies
Before we dive in, let’s make sure you have all the necessary supplies on hand. You’ll need:
- Flexible caulk designed for joint and crack sealing (Polyurethane or hybrid polyurethane caulks work great)
- Caulk gun
- Pressure washer or wire brush (to clean the cracks)
- Backer rod (for wider and deeper cracks)
- Dry sand that matches the color of your concrete
- A 2×4 piece of wood (for tapping the backer rod and sand into place)
- Soapy water (for smoothing the caulk)
Remember, having the right tools for the job will make this project a breeze. And don’t forget to wear your safety glasses – we want those peepers protected!
Step 1: Clean Those Cracks
As the experts at A-1 Concrete Leveling recommend, the first step in repairing sidewalk cracks is to make sure they’re nice and clean. Use that pressure washer or wire brush to remove any debris, dirt, or loose material from the cracks. This will help the caulk adhere properly and create a seamless, long-lasting repair.
Now, before you get started, take a moment to inspect your sidewalk. If you notice that the slabs have settled and created trip hazards, it might be a good idea to level them first. This will make your crack repair more durable, safe, and visually appealing. Plus, it’ll save you the hassle of having to redo your hard work down the line.
Step 2: Fill the Gaps
Alright, time to fill those cracks! For wider and deeper ones (more than 1/2 inch wide and 1 inch deep), you’ll want to use backer rod. Simply press the backer rod into the crack, about 1/2 inch below the surface. The backer rod should be slightly larger in diameter than the crack itself.
If you don’t have backer rod on hand, you can also use playground sand as a filler. Just pour the sand into the crack until it’s about 1/2 inch below the surface, then gently tap it down with your 2×4 to make sure it’s evenly distributed.
Step 3: Caulk Like a Pro
Now for the fun part – caulking! Start by cutting the tip of your caulk tube at an angle, about the same size as the width of the crack. Then, squeeze a nice, consistent bead of caulk along the length of the crack.
As the experts at A-1 Concrete Leveling recommend, if you’re using self-leveling caulk, be sure to block the ends of the crack with a non-sag caulk first. This will prevent the self-leveling stuff from oozing out everywhere.
And for those of you using non-sag caulk, the key is to smooth it out before it sets. Dip your finger or a smooth tool (like a spoon) in soapy water and gently glide it over the caulk, pressing it into the crack and creating a nice, even surface. Just be careful not to spread the caulk outside of the crack – we want to keep things tidy!
Step 4: Add a Finishing Touch (Optional)
If you want to take your sidewalk repair to the next level, try sprinkling some dry sand that closely matches the color and texture of your concrete over the caulked areas. This will help the repair blend in seamlessly with the rest of your sidewalk.
Step 5: Let It Cure and Enjoy!
Now, be a good patient and let the caulk cure according to the manufacturer’s instructions. Avoid foot traffic on the repaired section until the caulk has fully set. Once it’s good to go, give yourself a big pat on the back – you just successfully repaired those pesky sidewalk cracks!
But don’t forget, your work isn’t done yet. Regular inspection and concrete maintenance are key to keeping your sidewalk in tip-top shape. Be sure to check the caulking over time and touch up or replace it as needed.
Repairing sidewalk cracks might seem daunting, but with the right tools and a little elbow grease, it’s a totally manageable DIY project. And let me tell you, there’s nothing quite like the satisfaction of walking on a smooth, safe sidewalk that you fixed with your own two hands.
So, what are you waiting for? Grab your supplies, roll up your sleeves, and let’s get to work on transforming that cracked concrete into a work of art (or at least a whole lot safer)! Your neighbors will be green with envy at your handiwork.

