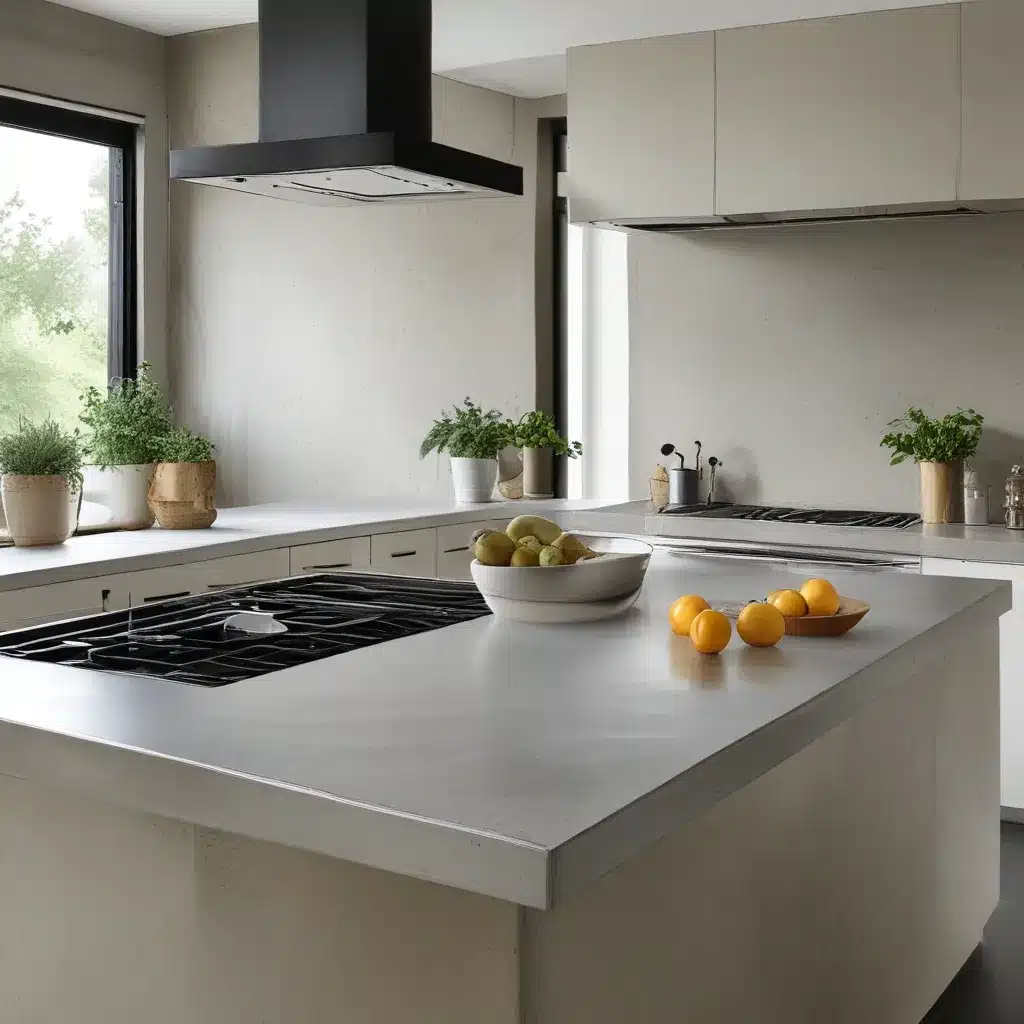
Embracing the Beauty of Concrete on a Budget
If you’re like me, your dream kitchen probably involves sleek, modern concrete countertops. But let’s be real – those professional-grade concrete slabs come with a hefty price tag. Well, my friends, I’m here to tell you that you don’t have to settle for less or wait until you can afford the luxury countertops of your dreams. With a little elbow grease and some budget-friendly tricks, you can achieve the concrete look you crave without breaking the bank.
I’ve been there, staring at my outdated kitchen countertops, wishing I could swap them out for something more chic and on-trend. But as a busy mom and DIY enthusiast, I knew I needed to find a solution that fit our cash-only home improvement philosophy. That’s when I stumbled upon the magical world of DIY concrete countertops, and let me tell you, my life – or at least my kitchen – has never been the same.
Concrete Countertops: The Affordable Alternative
Now, I know what you’re thinking – concrete countertops? Isn’t that messy and complicated? Well, my friends, the good news is that with the right techniques and a bit of determination, you can transform your tired old countertops into a stunning, one-of-a-kind concrete masterpiece. And the best part? It won’t cost you an arm and a leg.
Concrete specialists have been raving about the benefits of DIY concrete countertops for years, and it’s easy to see why. Not only are they budget-friendly, but they also offer a unique, handcrafted look that you just can’t achieve with mass-produced materials. Plus, the customization options are endless – you can play with different textures, colors, and finishes to create a look that’s truly your own.
Embracing the Imperfections: The Beauty of DIY Concrete
One of the best things about DIY concrete countertops is that they embrace the beauty of imperfections. Unlike the flawless, glossy surfaces of quartz or granite, concrete countertops boast natural variations and subtle irregularities that give them a distinct, artisanal feel. Think of them as the perfect balance between modern minimalism and rustic charm.
As I set out on my own concrete countertop journey, I was initially a bit nervous about the process. Would it be too complicated? What if I messed up? But you know what they say – nothing ventured, nothing gained. And let me tell you, the sense of accomplishment I felt when I stood back and admired my newly transformed kitchen was worth every bead of sweat.
The Step-by-Step Concrete Countertop Transformation
So, how did I do it, you ask? Well, it all started with a little bit of research and a whole lot of determination. I scoured the internet for the best DIY concrete countertop tutorials, taking notes and gathering supplies. And let me tell you, the process was far from seamless – there were a few hiccups along the way, but that’s all part of the fun, right?
First, I carefully prepped my existing countertops, making sure to rough up the surface so the concrete would adhere properly. Then, it was time to mix up the concrete and start the messy (but oh-so-satisfying) process of applying it to the countertops. I can still remember the satisfying thud of the wet concrete hitting the surface and the way it slowly transformed before my eyes.
As the tutorial from Designer Trapped suggests, I made sure to apply the concrete in thin, even coats, sanding between each layer to achieve a smooth, polished finish. And let me tell you, the elbow grease was well worth it – the end result was a stunning, one-of-a-kind concrete surface that looked like it had been professionally installed.
Mastering the Art of Sealing
Of course, no DIY concrete countertop project would be complete without the all-important sealing step. As the team at Cotton Stem discovered, it’s crucial to apply multiple thin coats of sealer, especially in high-traffic areas like around the sink and stove. This helps protect the concrete from stains, scratches, and water damage, ensuring your beautiful new countertops will stand the test of time.
I’ll admit, I learned this lesson the hard way. After diligently applying the concrete, I got a little too eager and slapped on the sealer in thick, uneven coats. Big mistake. It didn’t take long for those dark, splotchy spots to start appearing, and I knew I had to act fast to save my hard work.
But you know what they say – where there’s a will, there’s a way. I sanded down the problem areas, reapplied the concrete, and then meticulously layered on the sealer, making sure to pay extra attention to the edges and corners. And let me tell you, the end result was worth every bit of effort. My countertops are now seamless, stain-resistant, and oh-so-easy to maintain.
Elevating Your Kitchen Style on a Budget
So, if you’re like me and you’re dreaming of a kitchen refresh that won’t break the bank, I highly recommend giving DIY concrete countertops a try. Not only are they an affordable alternative to high-end materials, but they also offer a unique, personalized look that will make your space feel truly one-of-a-kind.
As the team at The Fullhearted Home discovered, the key to success is embracing the imperfections and not being afraid to get a little bit messy. After all, that’s half the fun, right?
So, what are you waiting for? Grab your mixing bowls, your sanding pads, and your best pair of elbow grease-ready gloves, and get ready to transform your kitchen into a one-of-a-kind oasis. With a little bit of determination and a whole lot of creativity, you can elevate your style without draining your wallet. Happy DIYing, my friends!

